With the recent GA of Windows Virtual Desktop (WVD) Microsoft has extended its ability to deliver important endpoint capabilities to users anywhere in the world. Designed to improve upon the standard Windows Virtual Desktop capabilities, installing FSLogix on WVD can enhance and simplify these sorts of non-persistent environments.
Benefits of Installing FSLogix on WVD
- Maintain user context in non-persistent environments
- Minimize sign in times for non-persistent environments
- Optimize file IO between host/client and remote profile store
- Native (Local) profile experience, eliminating many compatibility issues with solutions using visible redirection, such as User Profile Disk (UPD).
- Simplify the management of applications and ‘Gold Images’
- Specify the version of Java to be utilized by specific URL and applications
Microsoft Licensing Pre-requisites for Installing FSLogix on Windows Virtual Desktop
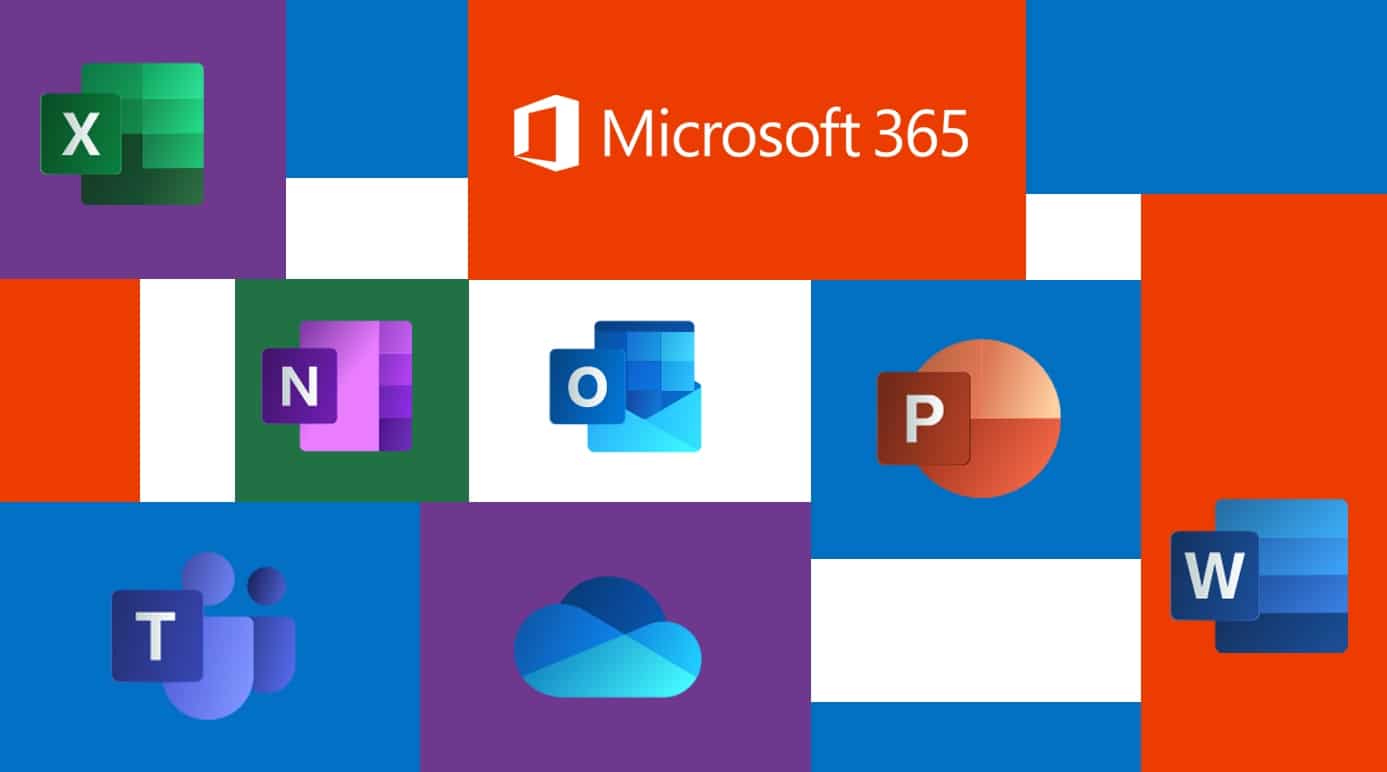
- Microsoft 365 E3/E5
- Microsoft 365 A3/A5/Student Use Benefits
- Microsoft 365 F1
- Microsoft 365 Business
- Windows 10 Enterprise E3/E5
- Windows 10 Education A3/A5
- Windows 10 VDA per user
- Remote Desktop Services (RDS) Client Access License (CAL) (SA not required)
- Remote Desktop Services (RDS) Subscriber Access License (SAL)
Not only is it included, but it’s powerful and fast to deploy. No more management nightmares with redirection of %appdata% or poor user experience with roaming profiles. This basically eliminates the need for third-party solutions like Liquidware Labs’ Profile Unity.
How to Install FSLogix on WVD
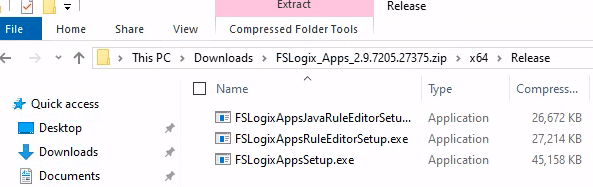
The installation couldn’t be easier. Download & run the FSLogixAppsSetup.exe executable in the x64/Release or Win32/Release folder depending on your architecture on your golden/master image.
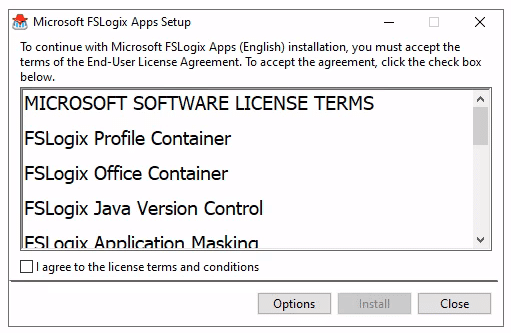
Agree to the terms and conditions and click on install.
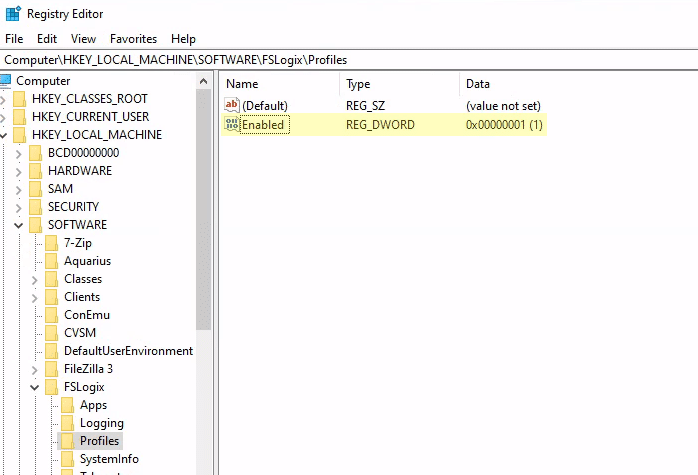
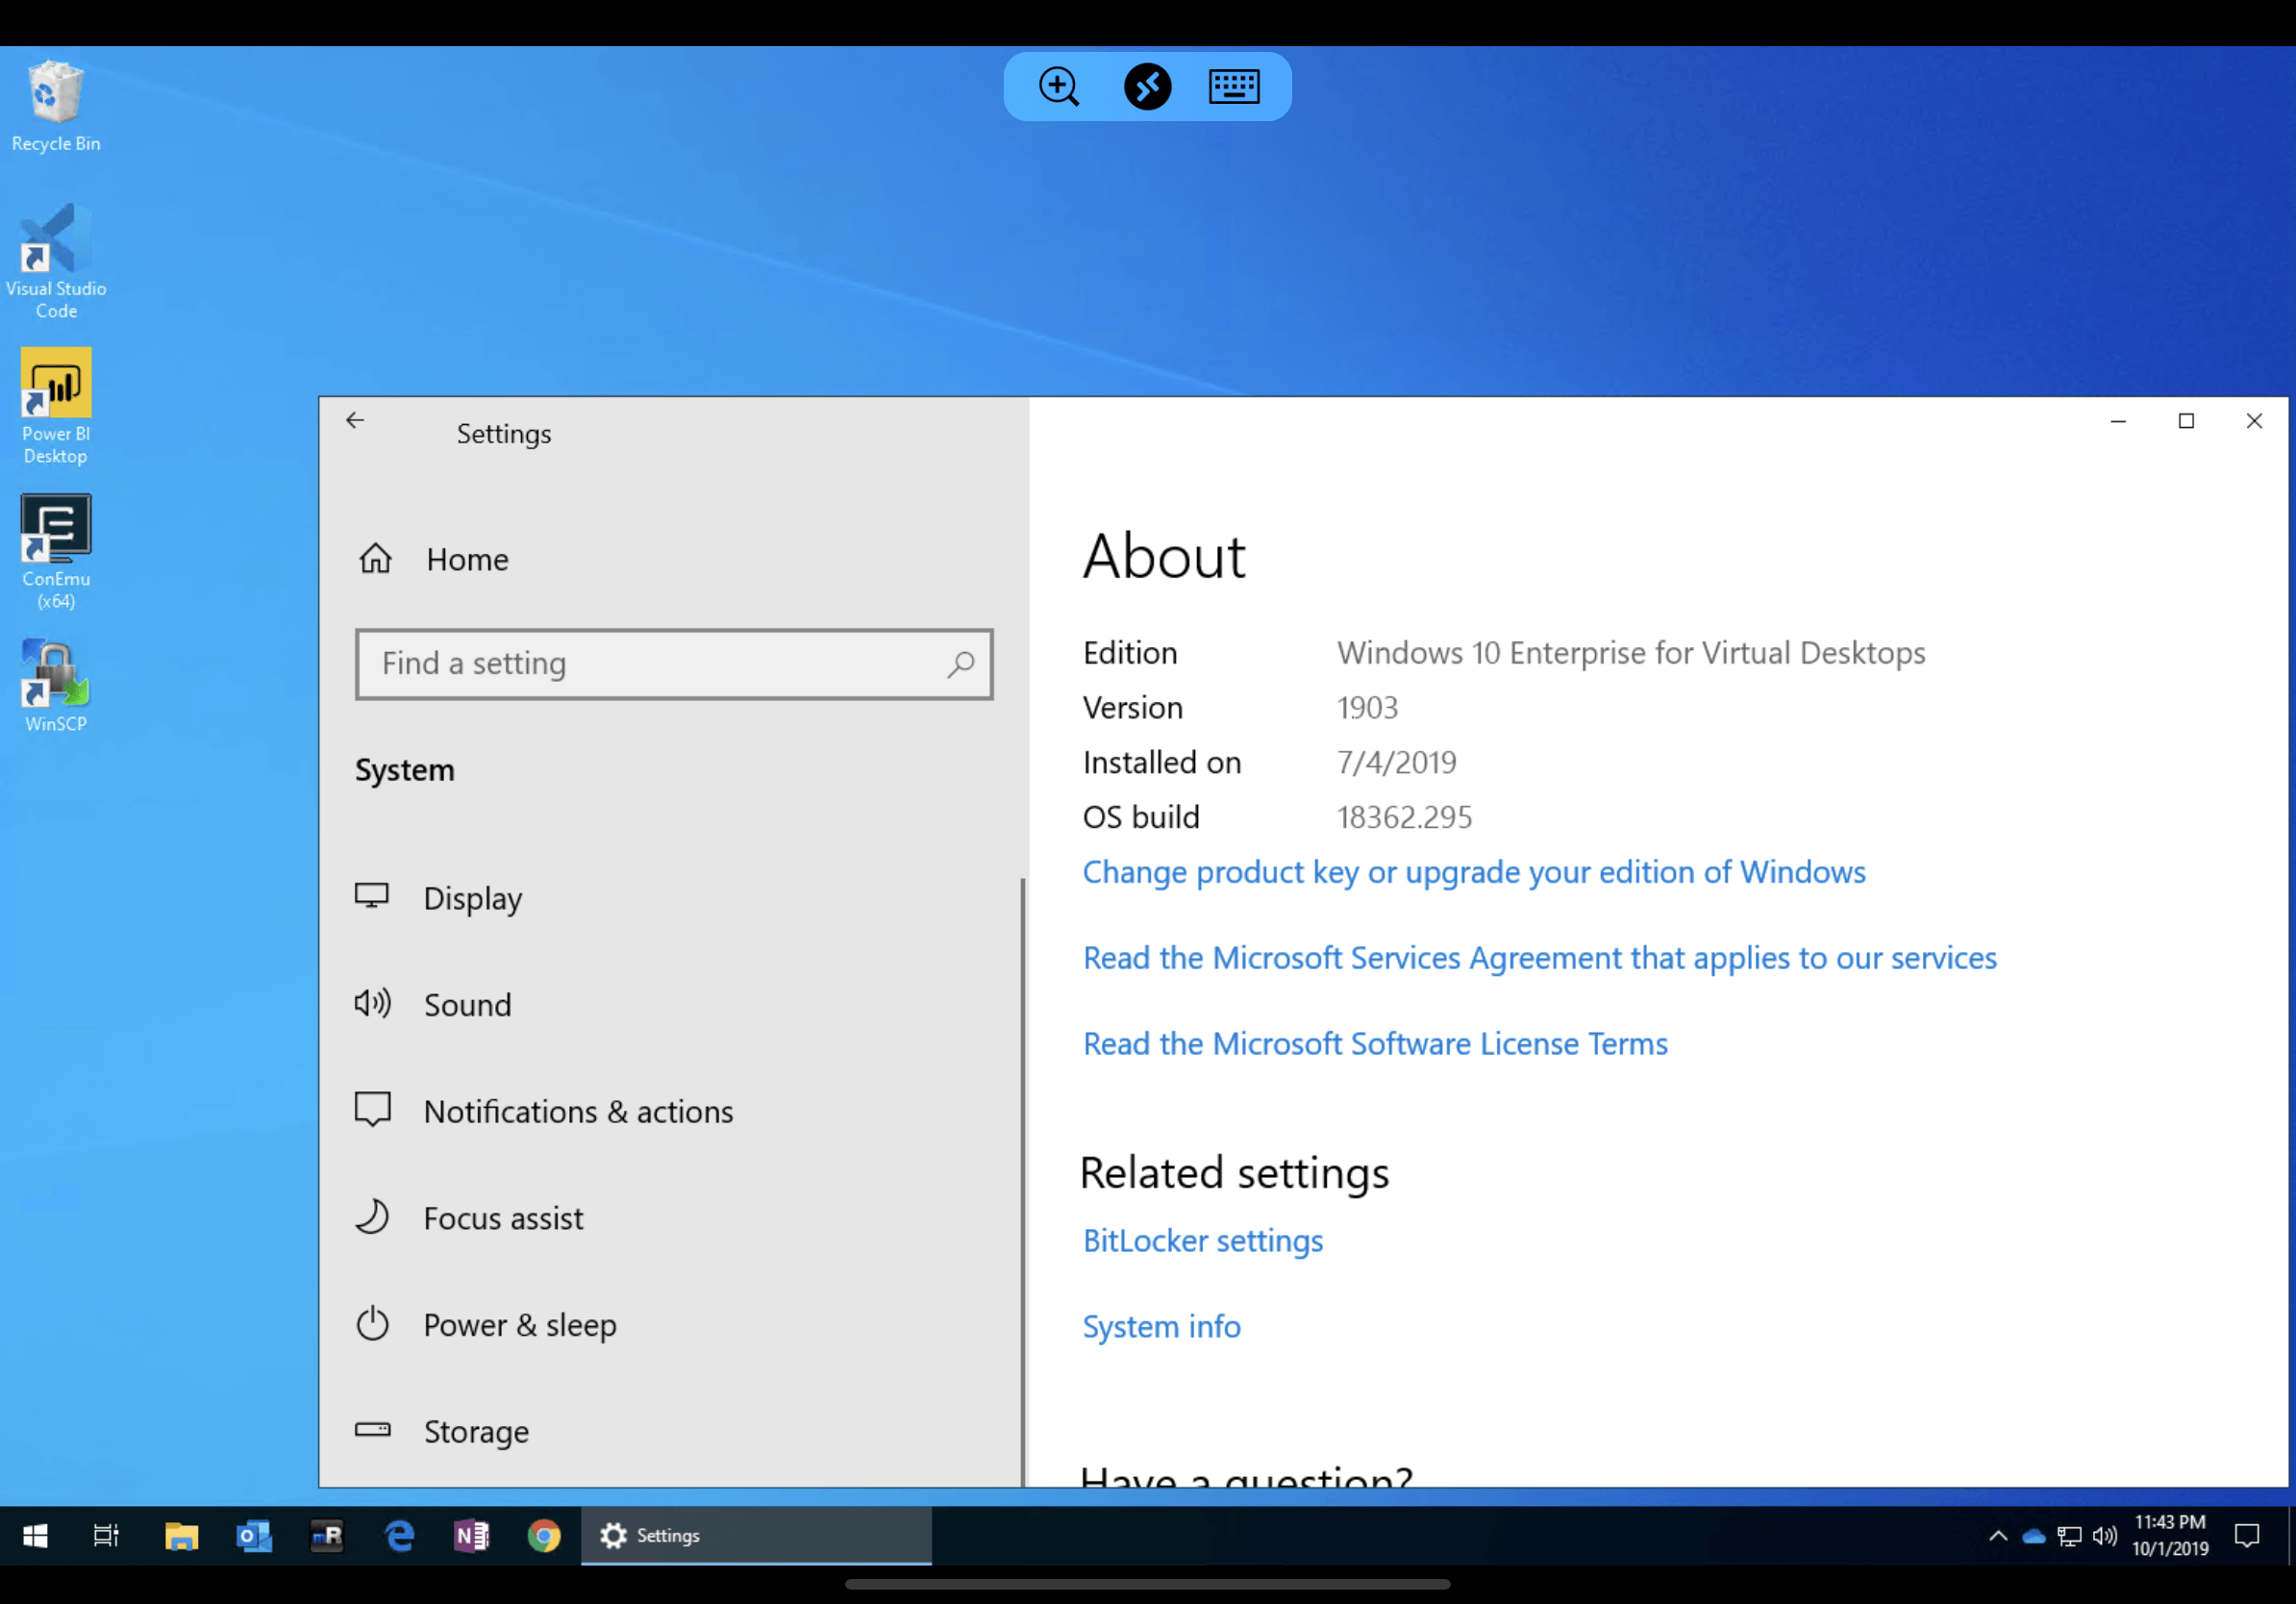
The base configuration has two main parameters that need to be set, and you can do so either through the registry or through local group policy. The registry path is going to be the quickest route.
The First parameter is going to enable the profile abstraction. The key that needs to be created is in “HKEY_LOCAL_MACHINE\Software\FSLogix\Profiles”. Right click on Profiles and create a “DWORD (32-bit) Value” named “Enable” with it’s value set to 1.
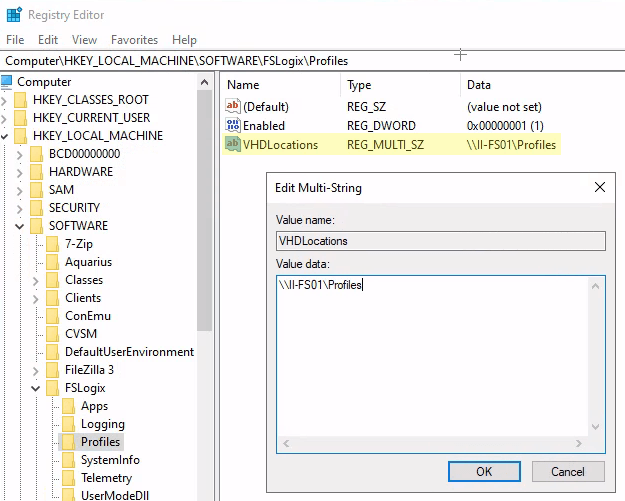
The second is going to set the location for the VHD encased profile data. Again, right click on Profiles and create a “Multi-String Value” named “VHDLocations” and make its value set to your profile file server UNC path or a local path depending on your desired topology.
NOTE: Ensure that users have the correct share permissions to “Full Control” as creator owner while excluding other users for accessing the data.
That’s it for basic abstraction installation and configuration. User profiles will now be stored and streamed from a VHD in the VHDLocations path!
Closing Thoughts on Installing FSLogix for WVD
The entire process took me less than 30 minutes. Compared to deploying a Liquidware Labs Profile Unity management solution, that typically takes 4 hours minimum. While not a 1:1 mapping of tools, you get 80% of the features with 20% of the management overhead.
More advanced configuration is available such as:
- Excluding/Including users from the abstraction
- Creating file and folder inclusions and exclusions different then the base configuration
- Configuring search database location
- Profile size quota
- Storing Outlook cache into the VHD container
Share this
Step-by-Step Guide to Deploy Windows Virtual Desktop in Azure
Guide to Deploy Office 365 ProPlus in Windows Virtual Desktop
No Comments Yet
Let us know what you think